Best Back Exercises
A curated list of 55 movements that build the back. Each guide includes technique cues, common mistakes, target rep ranges, and a progression scheme that auto-adjusts based on your real lifts.
Browse by muscle
Browse by equipment
55 exercises
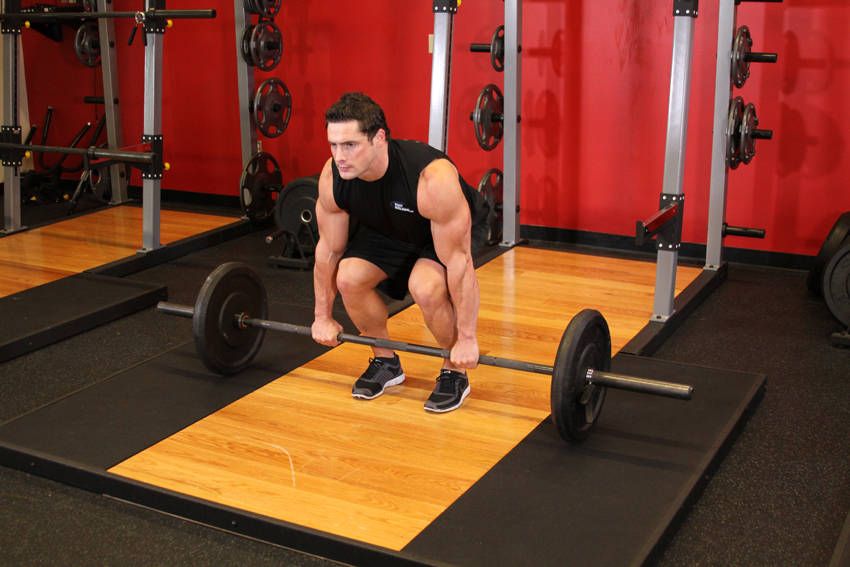
Conventional Deadlift
Back · Barbell · 4–6 reps
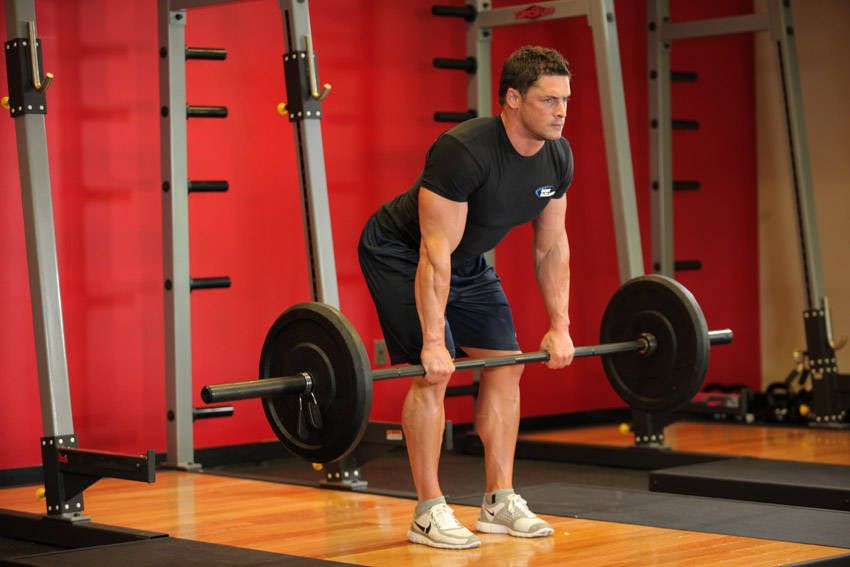
Barbell Row
Back · Barbell · 6–10 reps
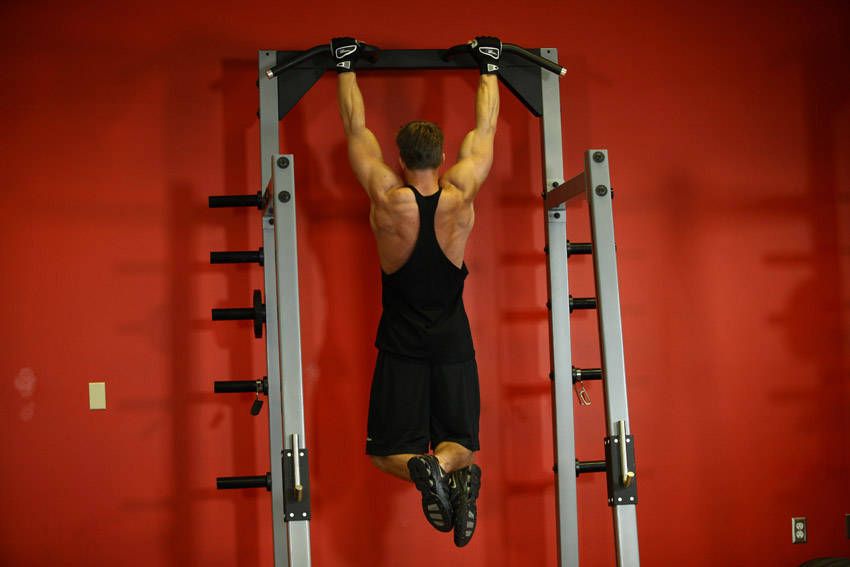
Pull-Up
Back · Bodyweight · 5–10 reps
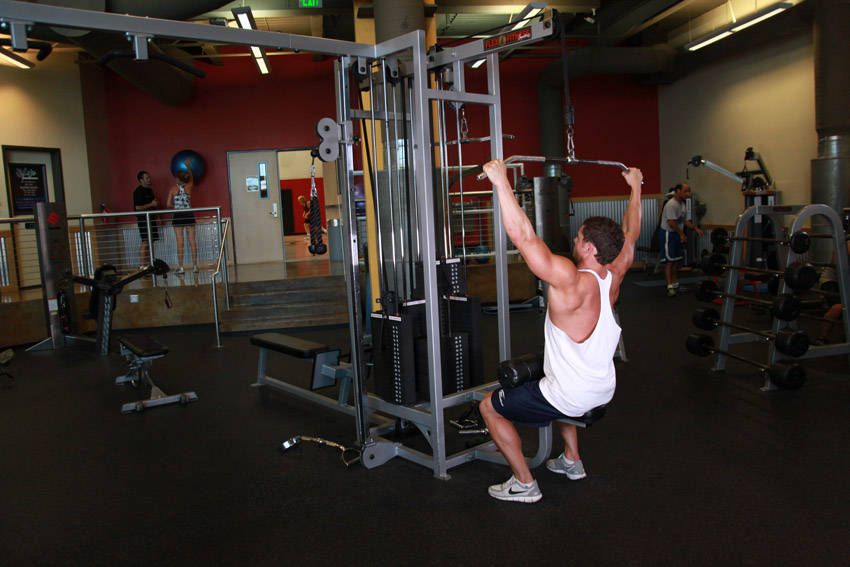
Lat Pulldown
Back · Machine · 8–12 reps
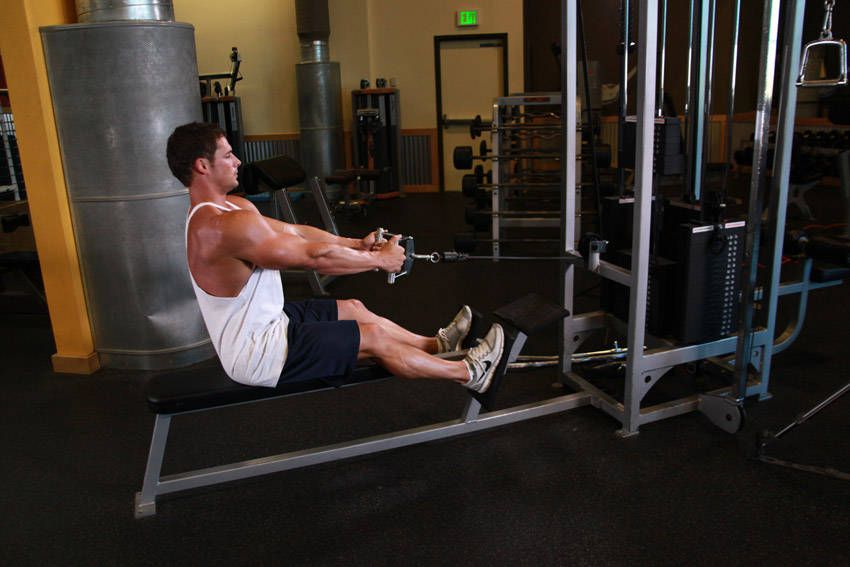
Seated Cable Row
Back · Cable · 8–12 reps
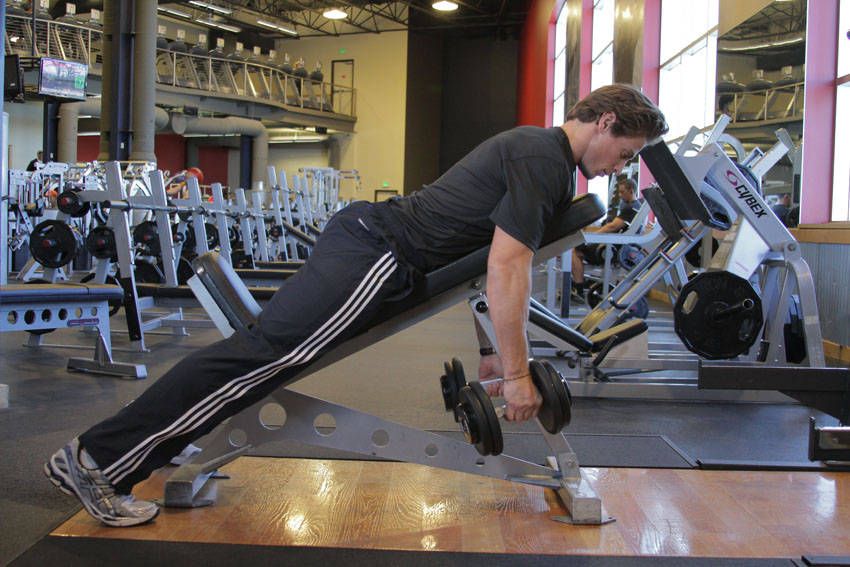
Dumbbell Row
Back · Dumbbell · 8–12 reps
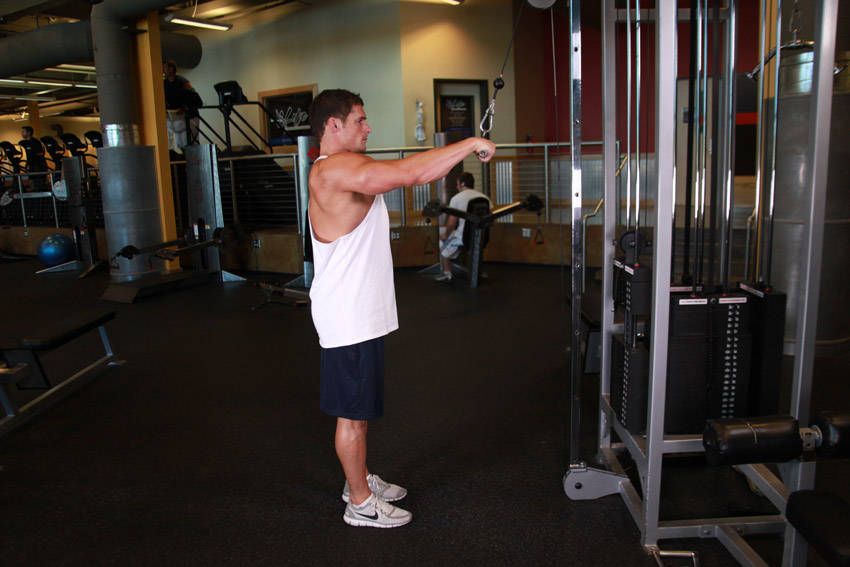
Straight-Arm Pulldown
Back · Cable · 12–15 reps
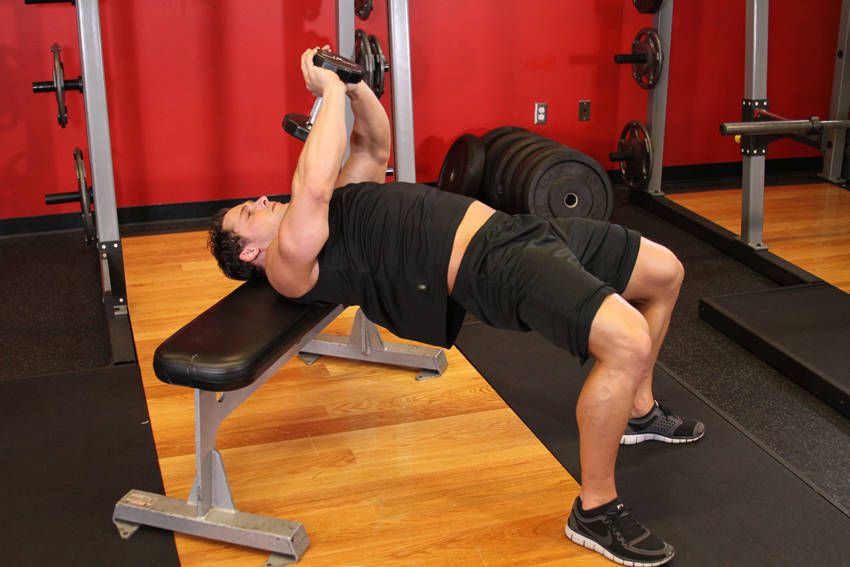
Dumbbell Pullover
Back · Dumbbell · 12–20 reps


- Wide-Grip Pull-Up Back · Bodyweight · 5–10 reps
- Chin-Up Back · Bodyweight · 5–10 reps
- Single-Arm Lat Pulldown Back · Machine · 10–15 reps
- Wide-Grip Lat Pulldown Back · Machine · 8–12 reps
- Reverse-Grip Lat Pulldown Back · Machine · 8–12 reps
- Chest-Supported Machine Row Back · Machine · 8–12 reps
- Pendlay Row Back · Barbell · 5–8 reps
- T-Bar Row Back · Barbell · 8–12 reps
- Meadows Row Back · Barbell · 8–12 reps
- Seated Machine Row Back · Machine · 8–12 reps
- Rack Pull Back · Barbell · 5–8 reps
- Deficit Deadlift Back · Barbell · 4–6 reps
- Paused Deadlift Back · Barbell · 3–5 reps
- Inverted Row Back · Barbell · 8–15 reps
- Trap Bar Deadlift Back · Barbell · 5–8 reps
- Back Extension Back · Machine · 12–20 reps
- Body Row Back · Bodyweight · 8–15 reps
- Wide-Grip Body Row Back · Bodyweight · 8–15 reps
- Superman Back · Bodyweight · 12–20 reps
- Reverse Snow Angel Back · Bodyweight · 12–20 reps
- Prone Swimmer Back · Bodyweight · 12–20 reps
- Prone Y-T-W Raise Back · Bodyweight · 12–20 reps
- Seal Row Back · Barbell · 8–12 reps
- Chest-Supported Dumbbell Row Back · Dumbbell · 8–12 reps
- Landmine Row Back · Barbell · 8–12 reps
- Yates Row Back · Barbell · 6–10 reps
- Smith Machine Row Back · Machine · 8–12 reps
- Single-Arm Cable Row Back · Cable · 10–15 reps
- Wide-Grip Seated Cable Row Back · Cable · 10–15 reps
- Iso-Lateral Machine Row Back · Machine · 8–12 reps
- Neutral-Grip Pull-Up Back · Bodyweight · 6–12 reps
- Assisted Pull-Up Back · Machine · 8–12 reps
- Band-Assisted Pull-Up Back · Resistance band · 8–12 reps
- Neutral-Grip Lat Pulldown Back · Machine · 10–15 reps
- Close-Grip Lat Pulldown Back · Machine · 10–15 reps
- Machine Pullover Back · Machine · 10–15 reps
- GHD Back Extension Back · Machine · 10–15 reps
- Snatch-Grip Deadlift Back · Barbell · 4–6 reps
- Child's Pose Back · Bodyweight · 20–45 reps
- Cat-Cow Stretch Back · Bodyweight · 20–45 reps
- Knee-to-Chest Stretch Back · Bodyweight · 20–45 reps
- Double Knee-to-Chest Stretch Back · Bodyweight · 20–45 reps
- Upper-Back Stretch Back · Bodyweight · 20–45 reps
- Controlled-ROM Cable Row Back · Cable · 10–15 reps
- Atlas Stone Load Back · Bodyweight · 1–5 reps
- Keg Load Back · Bodyweight · 1–5 reps
- Axle Deadlift Back · Barbell · 1–5 reps
Exercise illustrations: Illustration: Everkinetic (CC BY-SA 4.0) · Illustration: barry / wger.de (CC BY-SA 4.0)
Track your sets and reps automatically with MuscleBuddy
Free workout logging, auto-progression, and a coaching layer that adapts to your real data.
Create your free account